Resurgence of Handmade

Handmade Crafts Having a Comeback

It is lovely to see that ‘Handmade’ is back. We all put so much love into making our favourite patterns of Knitted, Crochet and Sewing projects that we gift to family and close friends.

In the past few months, lots of customers are loving Handmade Items. It’s great to see.

I’m talking Handmade Crochet, Knitted & Sewn;

  • Quilts
  • Rugs
  • Toys
  • Teapot Wraps
  • Table Centres
  • Clothing
  • Coasters
  • Dish Cloths

Whatever you can think of.

Why?

Well, here is my theory.

We see the same old toys in the toy stores, the same clothing similar to last years.  It’s all the same items we are seeing or have bought previously. In this disposable world the rubbish sites are full of cheap throw-away items.

That is why at the moment…….it’s all about Unique, One-Off Items that make a gift special and will be treasured for many years to come.

The price is important of course.  It has to be at just the right price. Trust your instincts when choosing Handmade items, consider the amount of time that the maker has spent and the quality of the materials used.

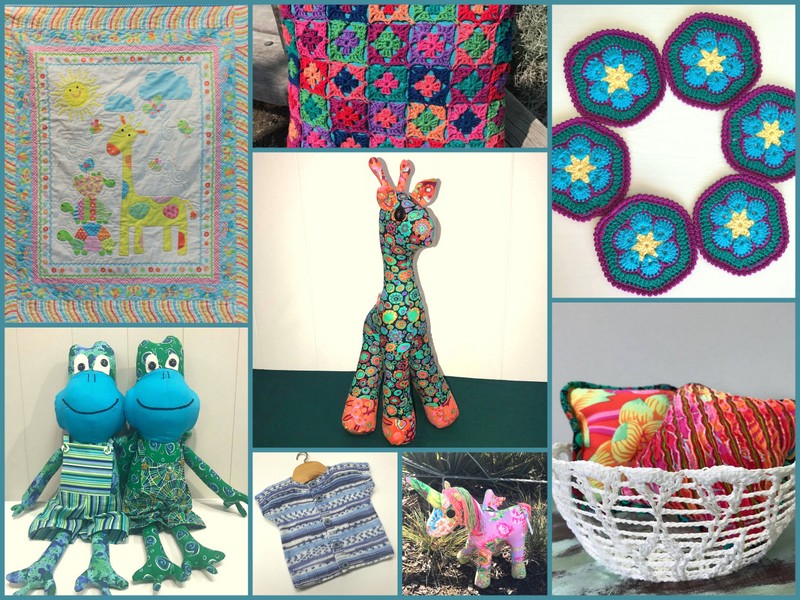
Below are Handmade Items we have been making and selling on our website. Edit: Sorry to say, most have sold now. There is a link under ‘Blair’s Vest’ for a pattern.

Between the 3 of us Blue Box Girls, we have been busy whipping out some Handmades!

Gigi the Green Giraffe-002

Gigi the Giraffe

Rainbow Unicorn 2-002

Rainbow Unicorn

Frank and Pedro Frogs-002

Pedro the Frog

Crochet Bowl-002

Crochet Bowl

Crochet Coasters 2-002

Crochet Coasters

Crochet Squ Sml Cushion-002

Crochet Cushion

Blairs Vest-002

Blair’s Vest

Bundle of Love Front Cover Web-002

Bundle of Love Cot Quilt

Just to name a few!!

There’s more Handmade Items on our PRE-MADE ITEMS Page.  Each week new items are added!

We are so excited and happy to see that Handmade is the first choice of shoppers.

♥ The Blue Box Girls.

Rosealea Table Runner Quilt

Make this gorgeous Table Runner design Free Pattern.

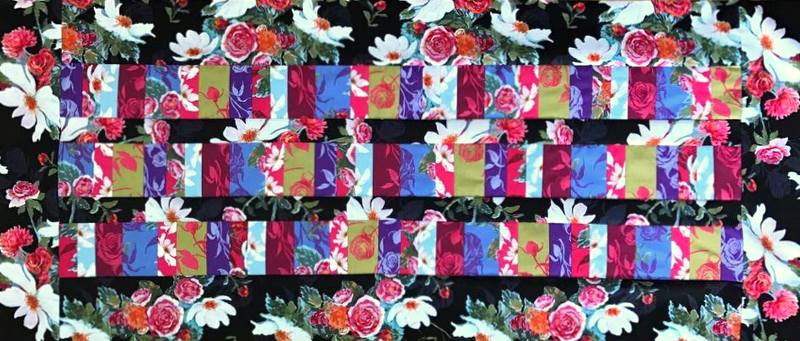
A gorgeous and quick-to-sew Quilt to make is the ‘Rosealea Table Runner Quilt’.

And we have great news!!!  Here is a Free Pattern below, just for you!

We do offer (Edit: did offer. Sold out now) our ‘Rosealea Table Runner Kit’ for all these lovely fabrics, which are from a 2016 Collection called ‘Rosealea’ by Fabric Designer & Artist, Nel Whatmore. Check out her amazing work.

If you have made Quilts before, you may already be ‘set up’ with quilting supplies. We suggest you use a Cutting Board, Ruler & Rotary Cutter for cutting your fabrics accurately. It is really important to have exact measurements, otherwise your quilt will not be accurate. Sewing this quilt with ¼” seams is important too, use a ¼” Foot and there is usually a guide on your sewing plate when sewing on your machine. We used a mid-grey coloured thread for joining our fabrics together.

Let’s get started…….

Roselea Table Runner-002

Fabric Requirements for your Table Runner (Quilt Size: 48cm x 96cm);

50cm of Big Black Print for Border & Sashings    Rosealea Fabric 7-004

30cm of Tile Pattern Fabric for Binding                Rosealea Fabric Binding-003

10cm of Big Blue Print                                              Rosealea Fabric 6-004

10cm of Big Pink Print                                              Rosealea Fabric 8-004

10cm of Burgundy Rose                                           Rosealea Fabric 4-004

10cm of Purple Rose                                                 Rosealea Fabric 5-004

10cm of Lime Rose                                                    Rosealea Fabric 3-004

10cm of Blue Daisy                                                    Rosealea Fabric 2-004

10cm of Pink Daisy                                                    Rosealea Fabric 1-004

1 metre of Plain Homespun for Backing

50cm x 1 metre piece of Batting

Cutting Requirements;

Cut 3 x 4″ strip WOF (Width Of Fabric) from Big Black Print, for the Border.

Cut 2 x 2″ strip WOF from Big Black Print, for Sashings.

Cut 1 x 2½” strip WOF from Big Blue Print, for Strata.

Cut 1 x 1½” strip WOF from Big Pink Print, for Strata.

Cut 1 x 2″ strip WOF from Burgundy Rose, for Strata.

Cut 1 x 1¾” strip WOF from Purple Rose, for Strata.

Cut 1 x 2¼” strip WOF from Lime Rose, for Strata.

Cut 1 x 1½” strip WOF from Blue Daisy, for Strata.

Cut 1 x 1½” strip WOF from Pink Daisy, for Strata.

Cut 4 x 2¼” strips WOF from Tile Pattern Fabric, for Binding.

Roselea Table Runner-002

Sewing Instructions;

Lay out the order of the Strata strips, as follows;

Rosealea Fabric 5-005Rosealea Fabric 8-005Rosealea Fabric 2-005Rosealea Fabric 4-005Rosealea Fabric 6-005Rosealea Fabric 1-005Rosealea Fabric 3-005

Join the strata strips, sewing them in alternative directions to avoid distortion.

Press all seams open with iron. TIP: Do not iron the raw edges that are not in the seams as it will stretch them out of shape.

Crosscut the strata into 3¼” pieces. (You’ll need 12 pieces).

Make 3 sets of 4 from the cut strata. Then stagger them by unpicking one seam in 2 of them and moving the piece to the other end of the strata and sewing them there.

Carefully measure the 3 stratas and note down the measurement. Add ¼” to this measurement for insurance. Now measure and cut the sashing and side borders to this measurement.

Pin and sew 2 sashing pieces to both sides of one of the stratas with the ¼” not included in the pinning or sewing.

Roselea Table Runner-004

LEAVE ALL ¼” EXTRA AT THE SAME END OF THE QUILT. Pin and sew 2 stratas to the other side of the sashings, leaving the sashing ¼” longer as before.

Roselea Table Runner-005

Pin and sew the 2 side borders onto the out sides of the strata and again leaving the side borders ¼” longer as before.

Roselea Table Runner-006

Press all seams towards the sashings and side borders. Trim off all the ¼” allowances.

Measure top and bottom of the quilt, note it down, add ¼” to this measurement. Cut 2 pieces of the border print to this size.

Pin and sew them on to top and bottom, and as before, leaving the ¼” out of the sewing.
Roselea Table Runner-001

Press all seams towards the borders and trim off the ¼” allowances, being careful to square up the corners on your cutting board.

Now it’s time to sandwich the quilt.  Lay out your Backing Fabric, always having your fabric firm on your pinning surface using tape or bull-dog clips, then lay down the Batting on top, then your Quilt top. Pin the three layers together with safety pins, pins need to be 10cm-15cm apart.

Quilt the three layers together. We quilted by machine using a Walking Foot in the ditch.

Sew your binding strips together end to end, making sure you cut off the selvedge. Press your seams open and iron your binding strips in half, longways, with right side of fabric showing. Sew on your binding to the right side of the Quilt, pin it over to the wrong side (back) and hen stitch by hand.

All Finished!!

Time to display this art piece.

There are some great quilting classes that your local quilt store have to ‘fine tune’ your skills, such as quilting your quilt, pinning your quilt and binding.

When you make this Quilt, please tag us in Facebook or Instagram, we’d love to see your work.

♥ The Blue Box Girls.

Teapot Wrap

A lovely decoration piece for your Teapot.

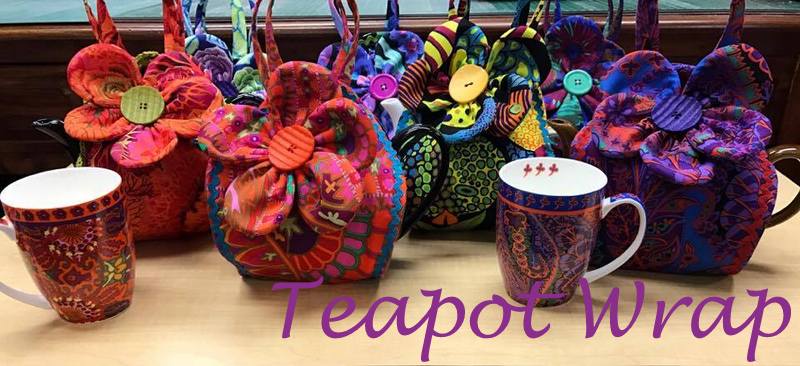
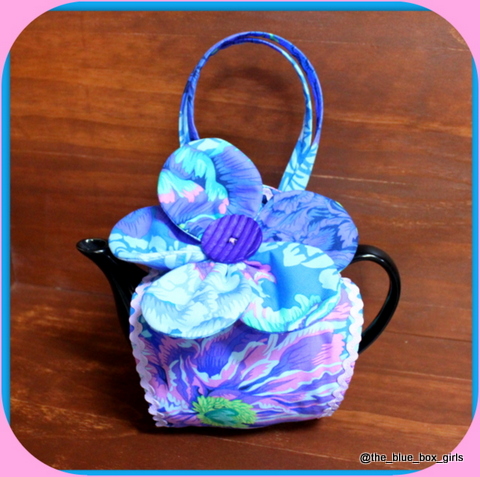
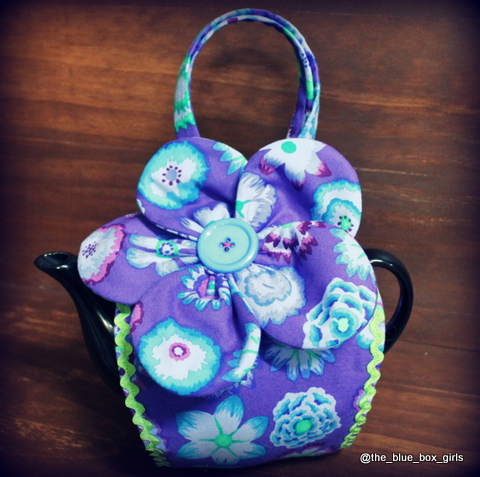
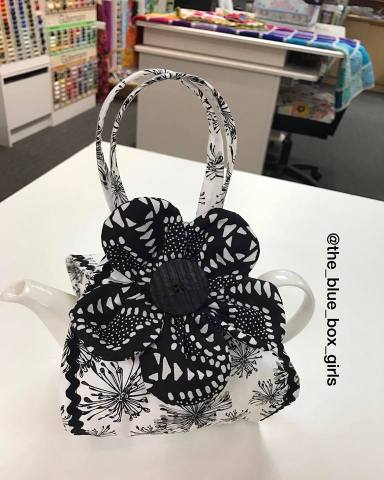
One of our own designs here at The Blue Box, is our beautiful Teapot Wraps.

At the time of designing it, Teapot Covers were having a comeback. Whether they were Knitted, Crocheted or Sewn.

We decided to Sew one, that was a feature or decoration for your Kitchens or Dining Room Cabinets and most importantly, is a quick project. So, The Blue Box Girl, Annette, thought of a design that is easy to make and a pattern that is easy to follow.

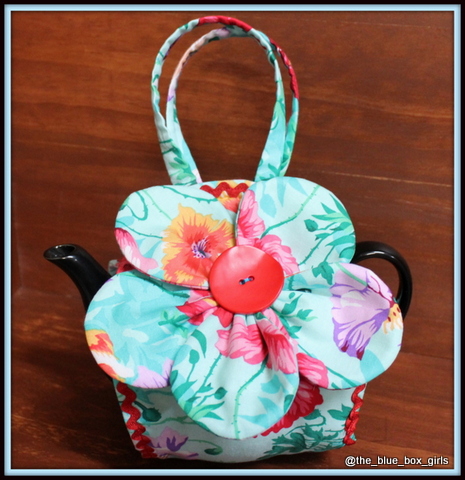
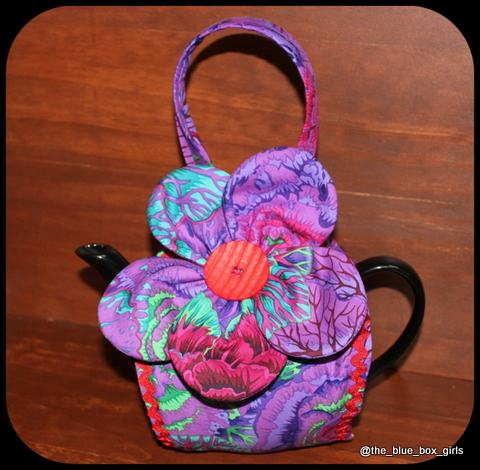
Finding a Fabric that matches your décor is a must. And when making them for our shop, we vary the look a bit.

Teapot Wrap Aqua-001Teapot Wrap Bright-001Teapot Wrap Mauve-001Teapot Wrap Purple-001

Sometimes, we change the flower fabric to the wrap base fabric, or we will go matchy-matchy and have all the same colour. The pattern has instructions for adding Ric-Rac as a decoration or sewing a decorative edge from your machine.

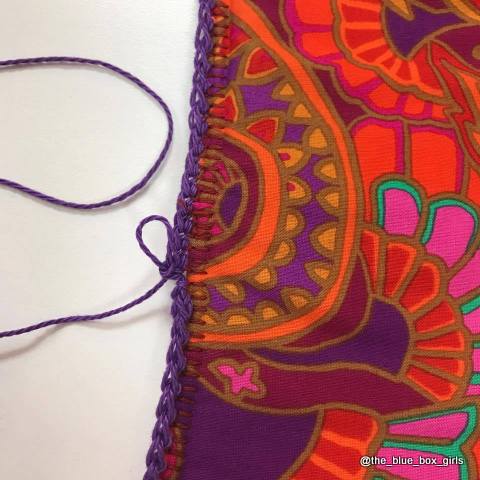
Annette has also added a Crochet-Edge to some, to give it even more detail and prettiness to the Teapot Wrap.

Here, Annette has started off the Crochet-Edge by sewing on the Blanket-Stitch from the Sewing Machine.

Close up of crochet edge-001

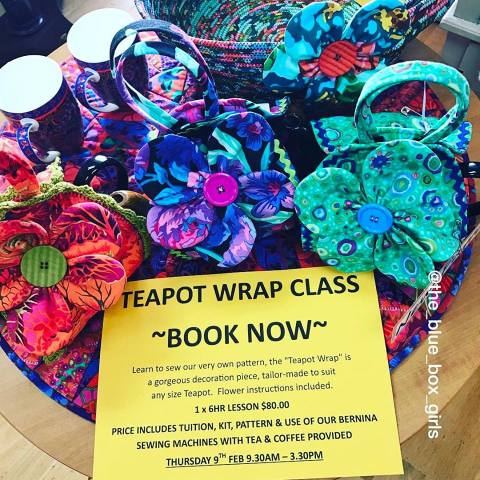
This pattern called for us to have Classes for our customers in store.

Classes for Teapot Wraps-001

Here’s what one of our lovely Class Members made for her home. Cute, isn’t it?!  Customers have also suggested that the Teapot Wrap makes great gifts.

Class Members Teapot Wrap-001

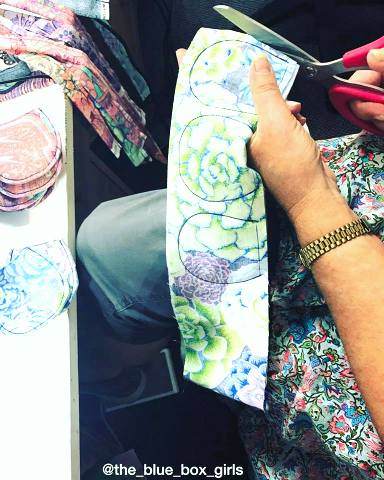
Here is Annette making the flowers for the Teapot Wrap.

Making the Flower-001

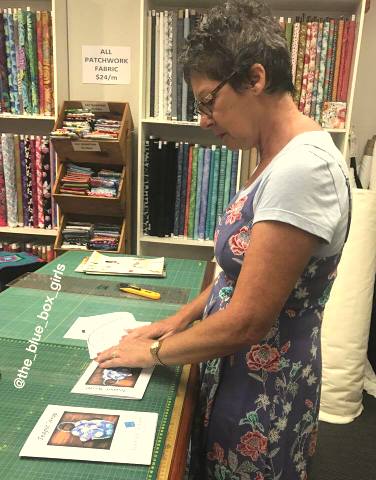
And Annette is getting the Pattern ready for our shelves.

Annette getting patterns on shelf-001

We love making items that make you feel good. And are pretty for your home.

♥ The Blue Box Girls.